

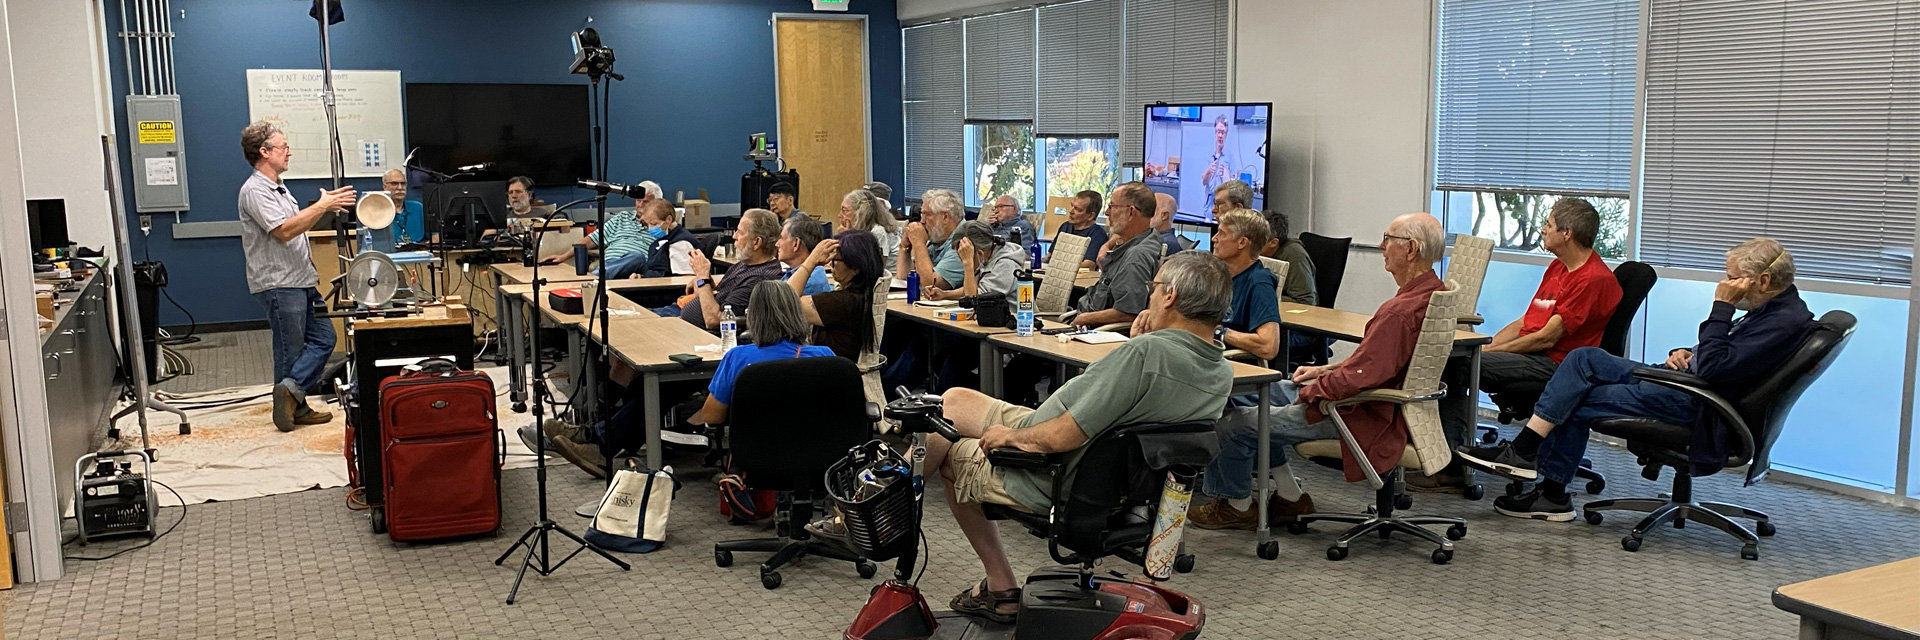
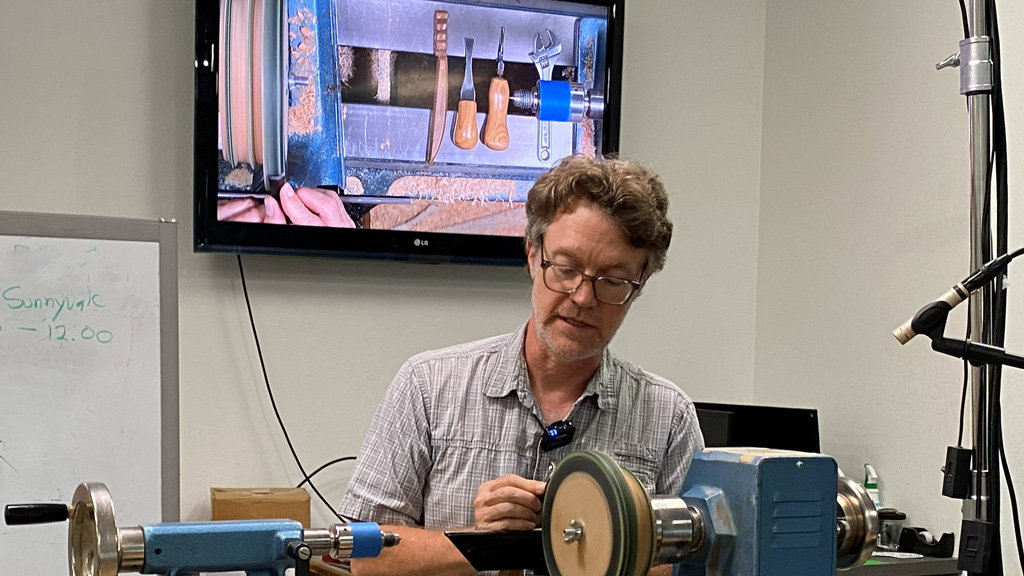
On September 20, 2025 Mark Gardner demonstrated some of his embellishment techniques for the combined Silicon Valley Woodturners and West Bay Woodturners clubs at Maker Nexus. Mark lives in the mountains of North Carolina and enjoys using the hardwoods that are plentiful there. Visit Mark Gardner’s website, MarkGardnerStudio.com, to see more of his work.
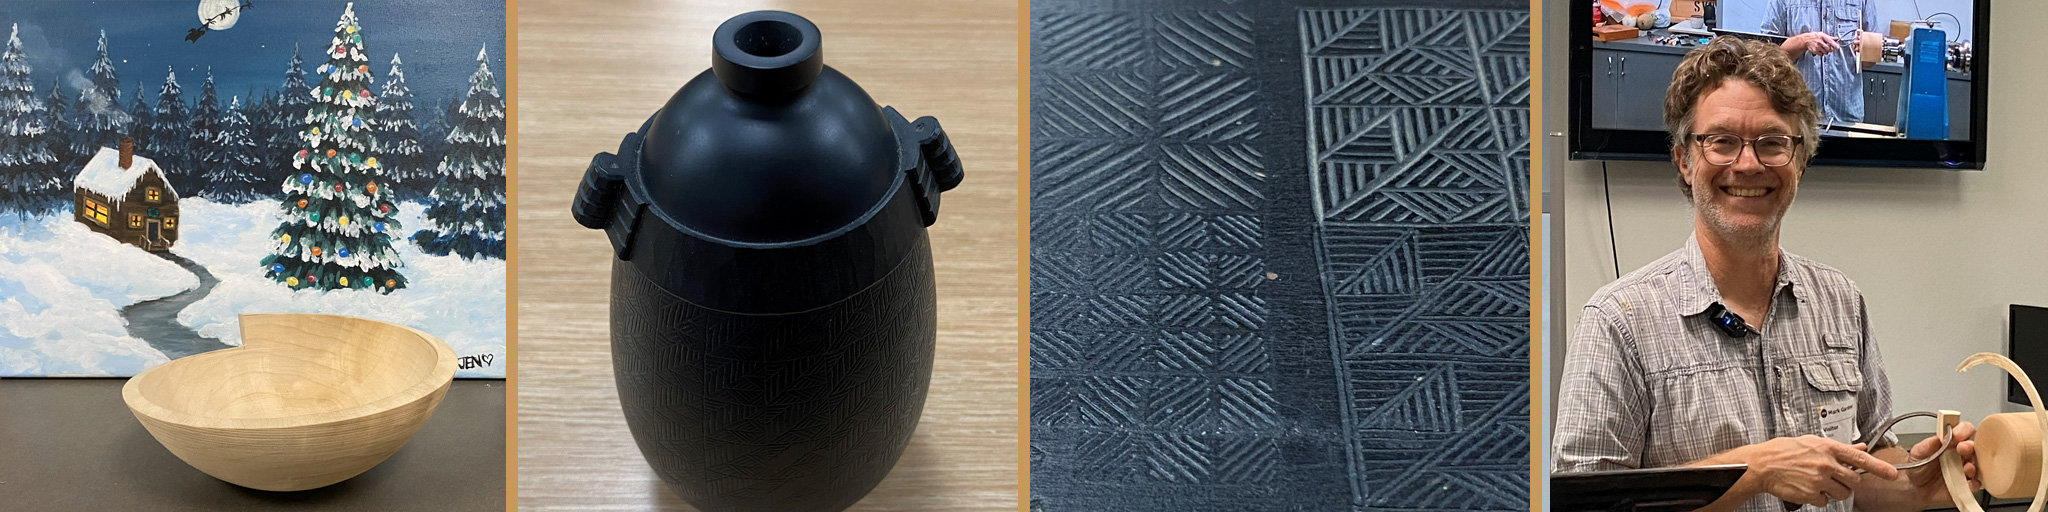
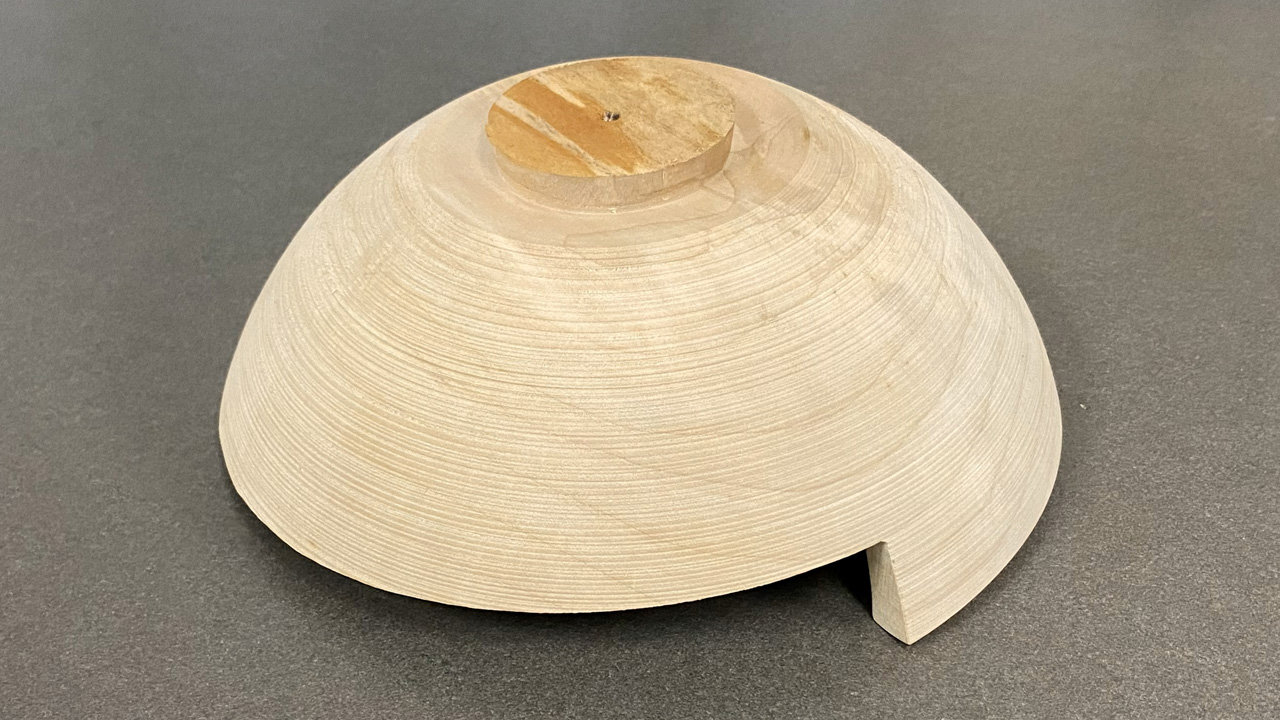
Mark began by showing how he creates his stepped-rim bowls. He began by creating a jam chuck from a piece of dry cherry in a spindle orientation. He first made the blank round with a roughing gouge and then used his bowl gouge to make a tenon. He cleaned up the tenon with his spindle gouge and mounted the blank on his chuck. He then cleaned the face and rounded the corners. The dried rough turned silver maple bowl was made from a tree that was knocked down by Hurricane Helene. Holding this bowl against the jam chuck, he tuned up the exterior with his half-inch bowl gouge – he used a bevel-supported cut for his first cut and fine-tuned it with a sheer scraping cut.
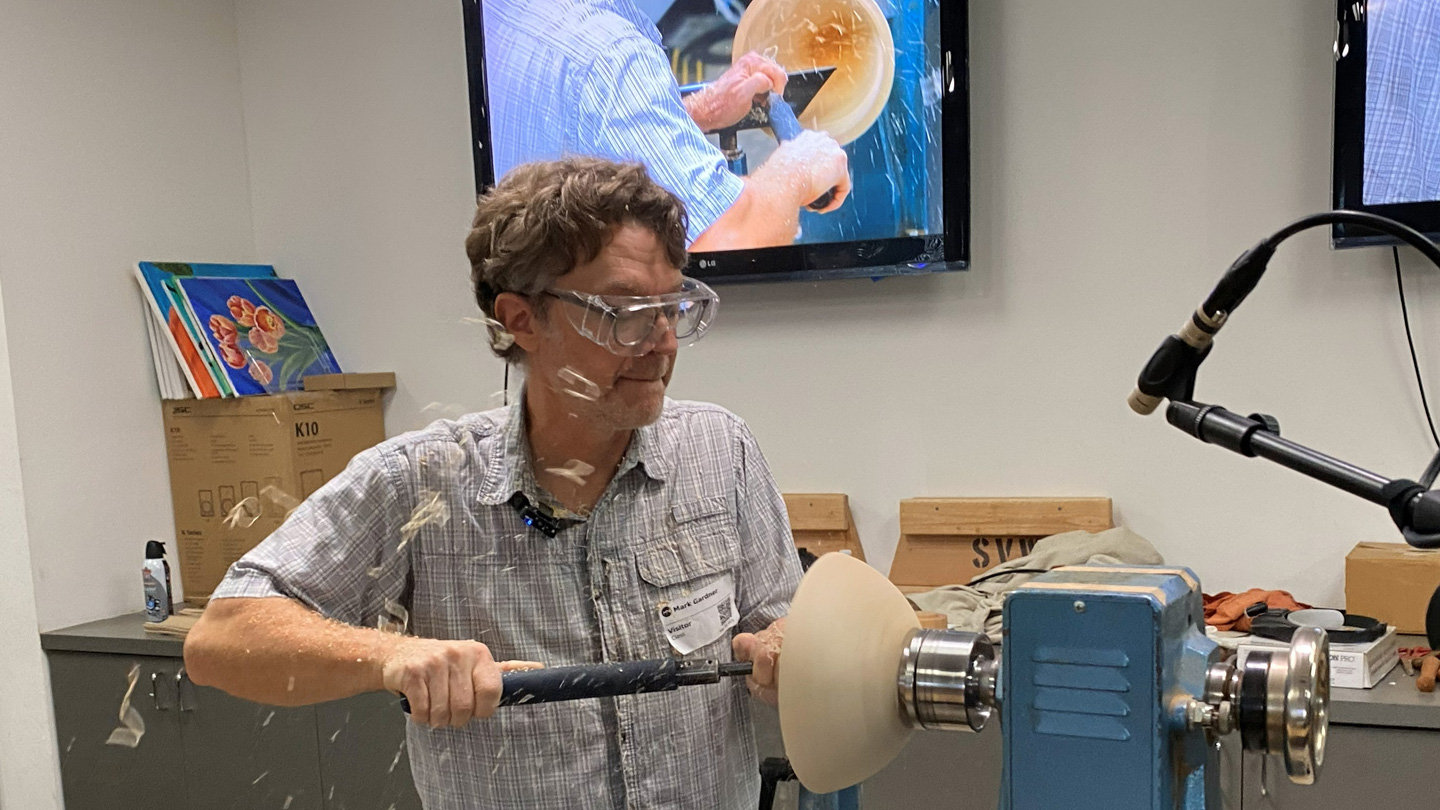
He then proceeded to clean up the tenon – first with the bowl gouge and finishing with a spindle gouge. With the bowl now on the chuck, he sheer scraped to finalize the outside and then cleaned up the inside with a ½” bowl gouge, slightly undercutting the rim.
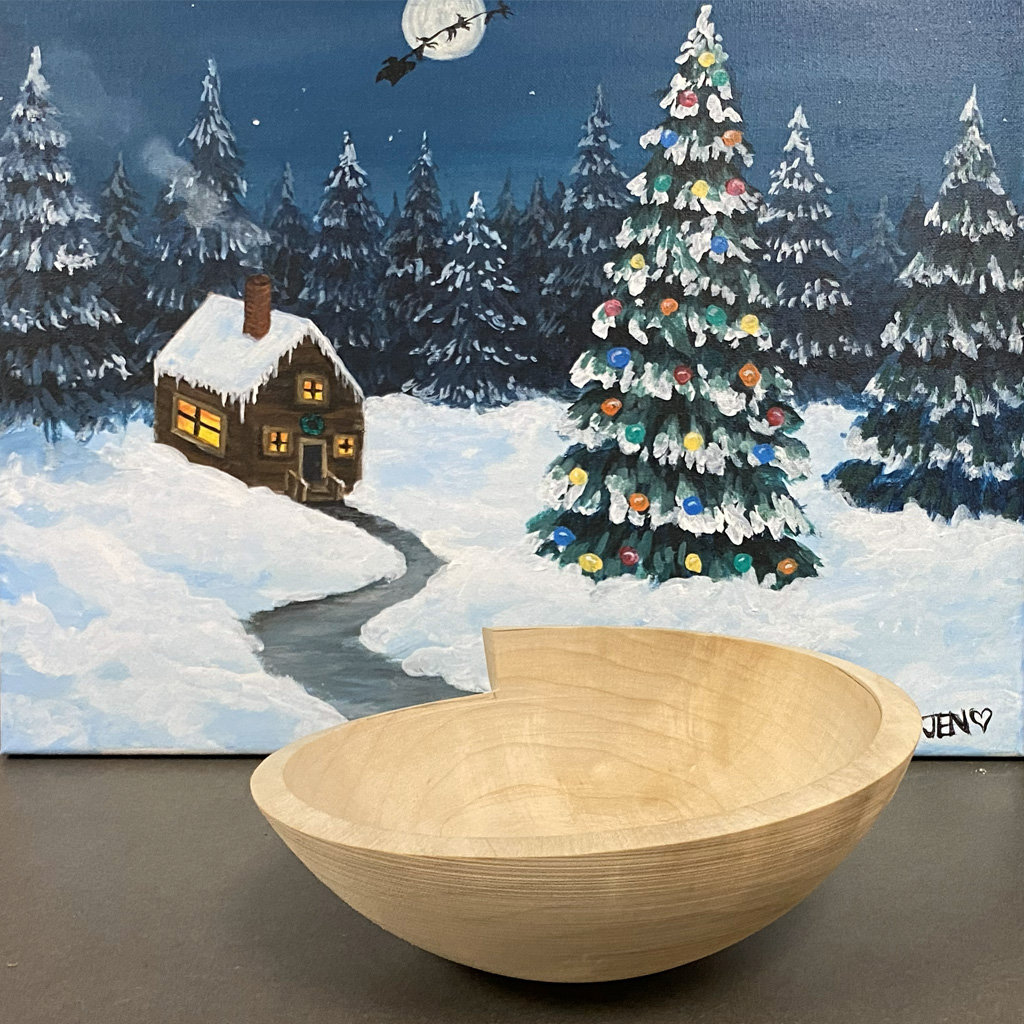
Mark often uses the stepped rim technique to rescue bowls that have a defect on the rim – either from the pith or just from a crack. Before cutting the rim, Mark scored the exterior of the bowl using the tip of his spindle gouge to purposely put in spiral grooves (the reason for these will be apparent later in the demo when he uses milk paint). He draws his target shape on the outside of the bowl – a cut line down and then a spiral back up to the top. He then transfers this line to the inside of the bowl. In his own shop, he usually makes the cuts using the bowl tipped on its side on the bandsaw (as long as it’s not a closed-form like a calabash).
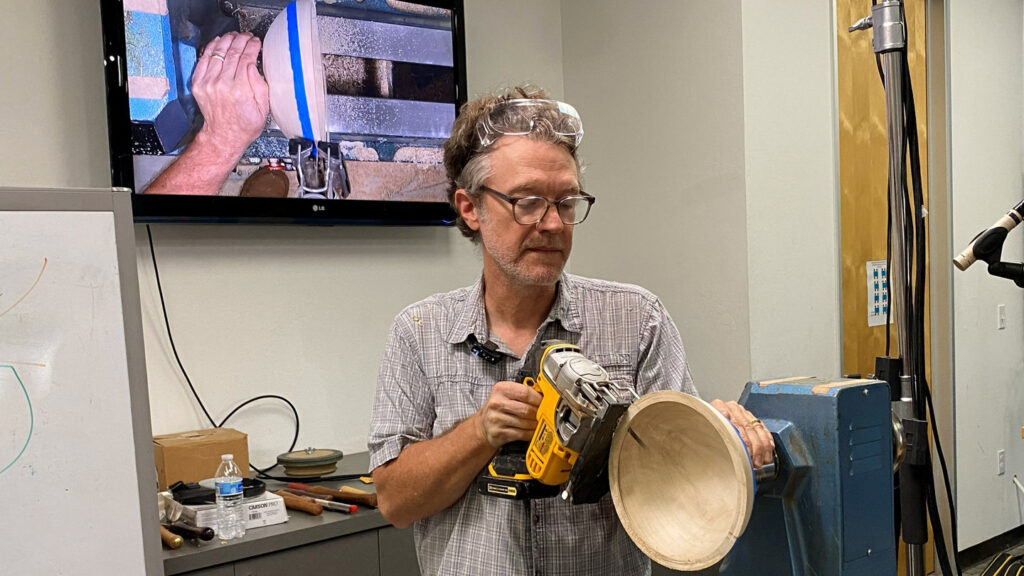

For our demo, Mark put masking tape on the cut lines to act as a guide for the jigsaw. After cutting, he locked the spindle and used the following tools in sequence to smooth the edges:
- Rasp
- Flat, rectangular file with smooth, non-cutting sides
- Sand paper on a block of wood with a cork sheet – grits: 50, 100, 150, 220
- For the corners, sandpaper on tongue depressors
After removing the tape, Mark used 400 grit sandpaper to soften the edges. He finishes the inside with a mixture of 1 part beeswax and 3 parts grocery store walnut oil, applied with a cotton rag and buffed off with a paper towel with the lathe on.
For the remainder of the demo, Mark focused on a variety of embellishing techniques.
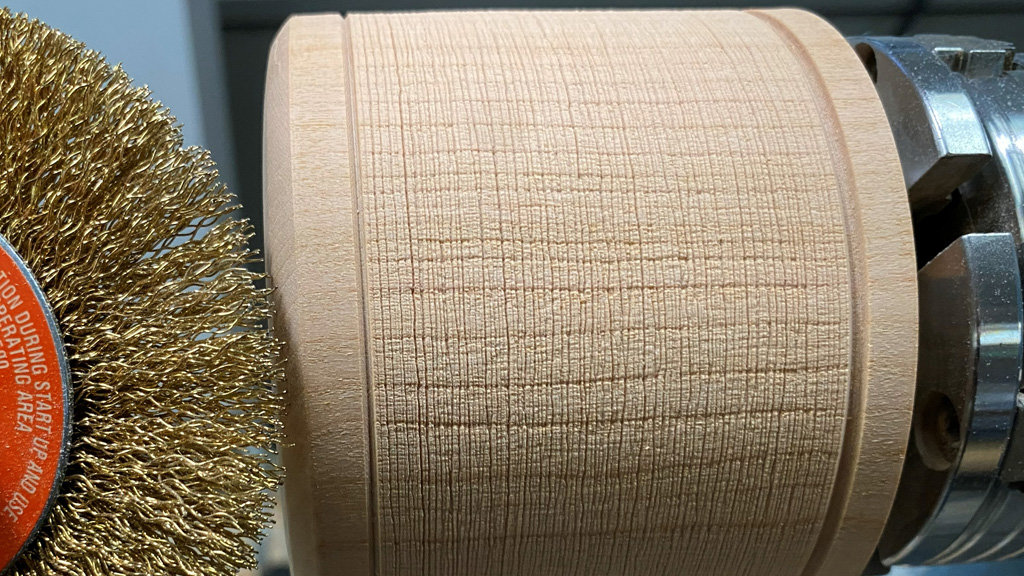
He showed how to use a wire brush (a Black and Decker paint and rust stripper coarse wheel). He first sands the piece to 120 grit to remove tool marks and makes v-cuts with his spindle gouge to bracket the section to be wire brushed. Then, with the lathe slowed to less than 500 rpm, he hand holds the wire brush against the wood.
To cut rings on the interior of a bowl (later to be highlighted with milk paint), he uses home-made mini hollowing tools using 3/16” HSS square stock.
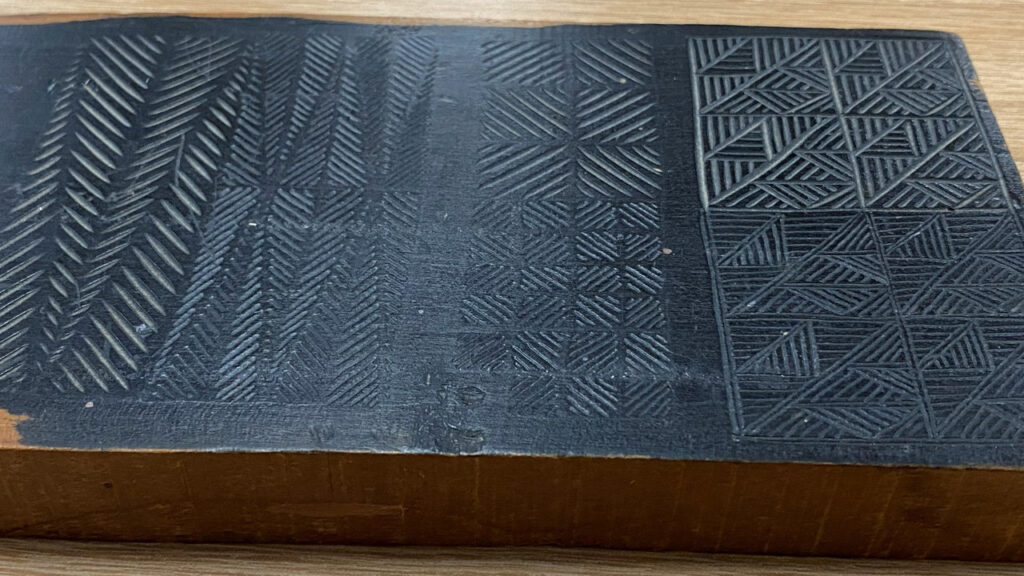
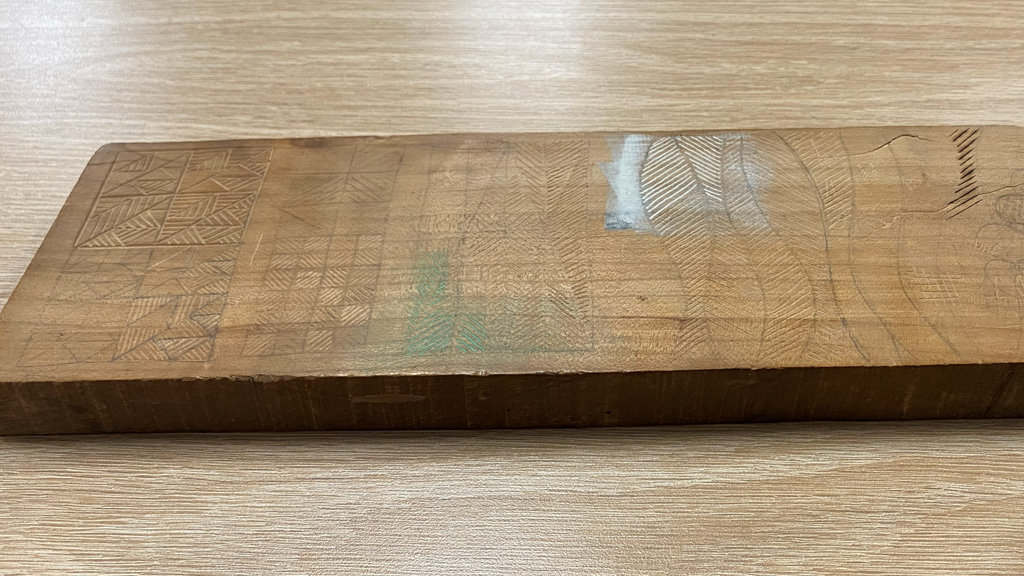
Mark then demonstrated how he marks a grid on the exterior of a hollow form that will guide his later carving. He has a simple jig that holds a pencil at exactly center height and draws circumferential lines and horizontal lines. He showed how the intersecting points of this grid can be used for laying out spirals around the form. Mark showed samples of different types of geometric and organic patterns that he creates laid on this grid.
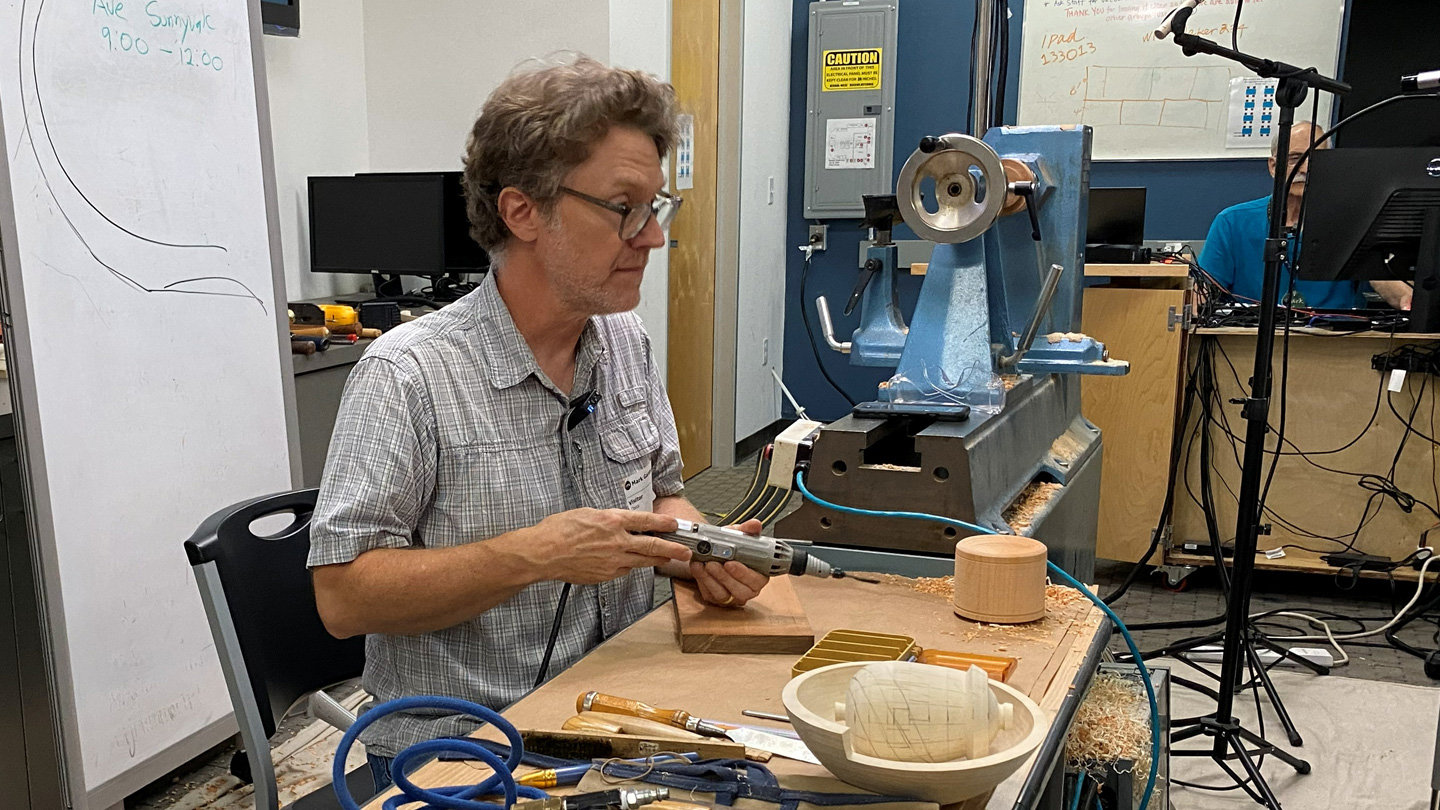
The first tool he demonstrated is a power carver. He uses an Automach power carver with bits from Flexcut. This tool doesn’t cut until you apply pressure. He uses a V-chisel for doing lines.
He noted some other carvers such as Graeme Priddle and Mellissa Engler use rotary tools rather than power carvers). Mark sometimes uses a 16 penny nail with its head cut off and polished smooth in his power carving tool.
Mark then demonstrated using an engraving tool which compresses rather than cuts the wood. This tool results in softer lines. The tool he uses is a Dremel brand and is designed to write on metal. It has a fairly blunt carbide tip. Hold this tool vertically for best results. He noted the tool heats up after only about 10 minutes. He showed a pneumatic version, a Sioux 5980 engraving pen which doesn’t tend to heat up.
Mark noted that the engravers work best with fine-grained woods. For coarser-grained woods, such as oak and ash, Mark recommends the power carver.
To create random looking hexagon designs, Mark starts by drawing random intersecting circles. He connects the intersections to make hexagons and then puts infill line in random directions.
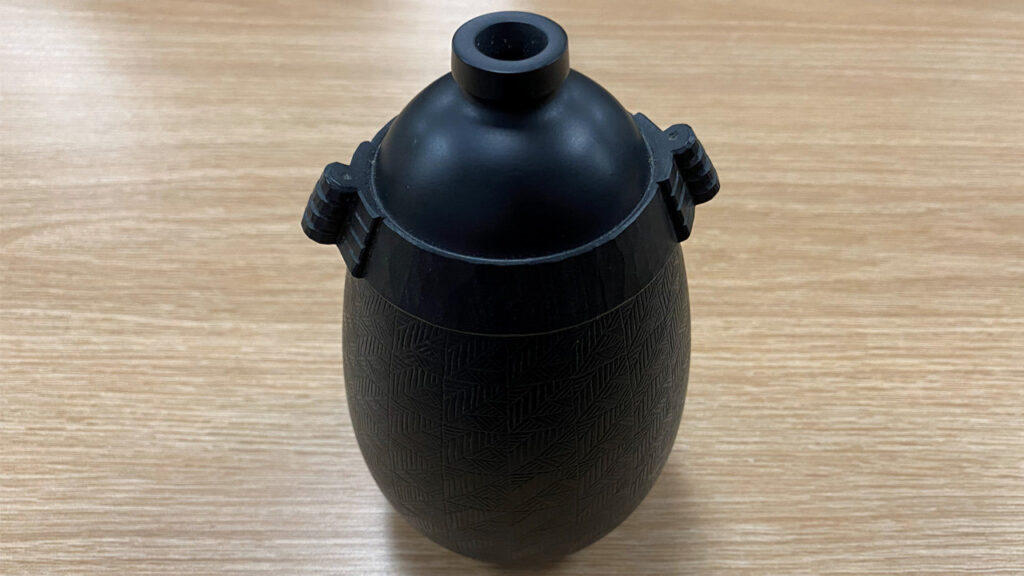
Mark then demonstrated his use of milk paint. Milk paint is composed of milk protein, lime, and earth pigments. He prefers the Old Fashioned Milk Paint brand because of its earthier palette and its ability to stick well to the wood. Milk paint doesn’t peel and crack and dries matte and hard. It comes as a dry powder. Mix up only what you’re going to use by adding water to the powder. Milk paint can be layered (such as off-white underneath yellow) and then selectively burnished to reveal hints of the lower layer. Mark typically applies 3 coats of paint, then uses 200 grit sandpaper to sand through the high spots (leaving paint in the low grooves). He then sands with 400 grit using Klingspor stearate sandpaper. Milk paint needs a top coat to finish. Mark uses Krylon Matte Finish from a spray can.
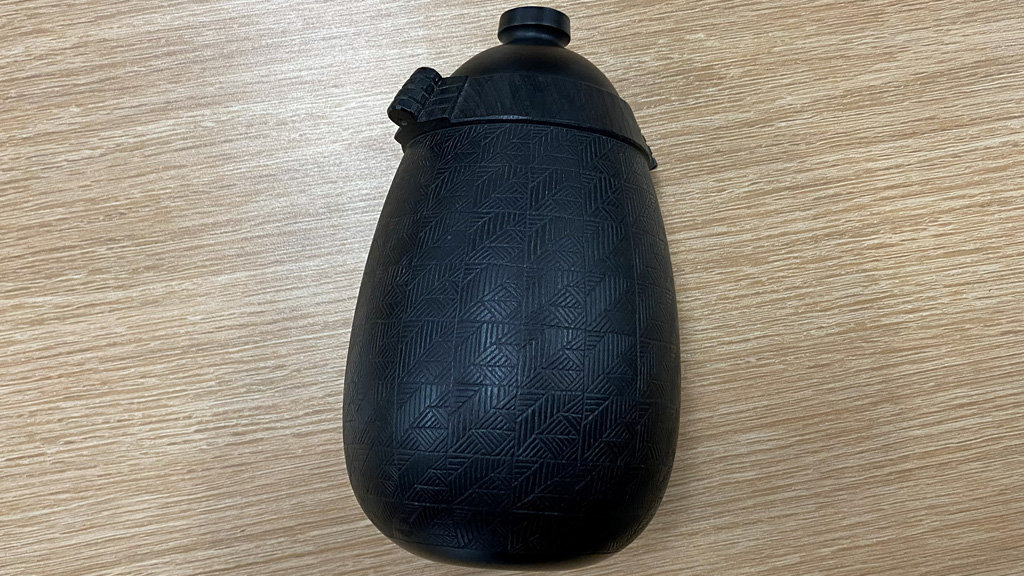
Although not demonstrated, if Mark wants to create a totally black surface, he uses Fiebing leather dye – specifically the USMC black alcohol-based version.
To sharpen and hone his carving tools, Mark uses a layered MDF wheel mounted on the lathe. He uses honing compound and runs the lathe in reverse.
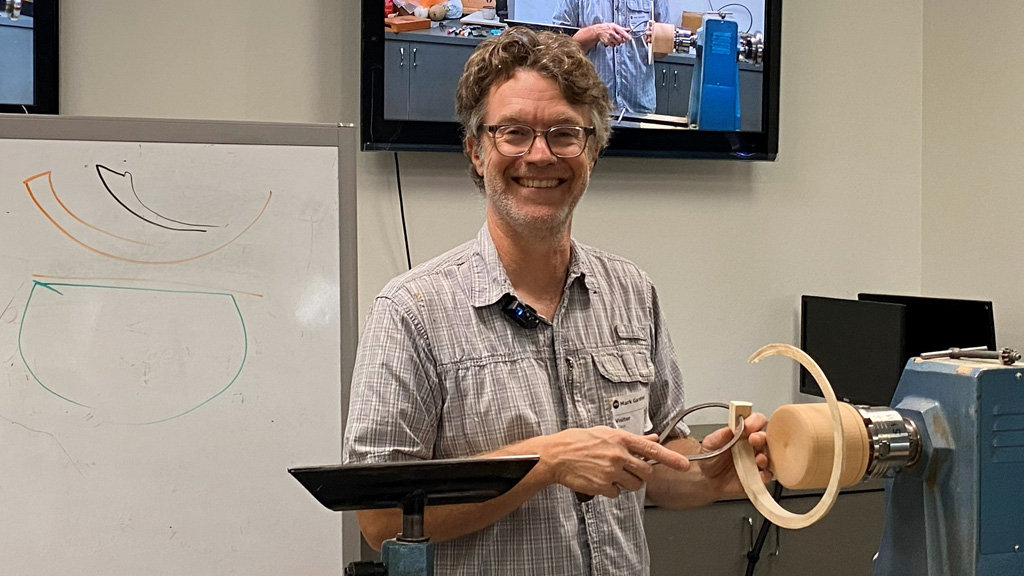
Finally, Mark demonstrated how he creates his signature handles on his vessels. After drawing the location of the “ears”, he rough cuts them in using a small Japanese style back saw (from Z-saw). He refines the cuts with his ¾” bench chisel and then does the finish cut with a flat-surface Flexcut chisel. He makes the handle into a bead by carving off the corners and chip carves horizontal grooves, finally, breaking corners with a chisel. He does his patterning work on the piece (with power carver or engraver) after carving the handles and only after the piece is thoroughly dry.
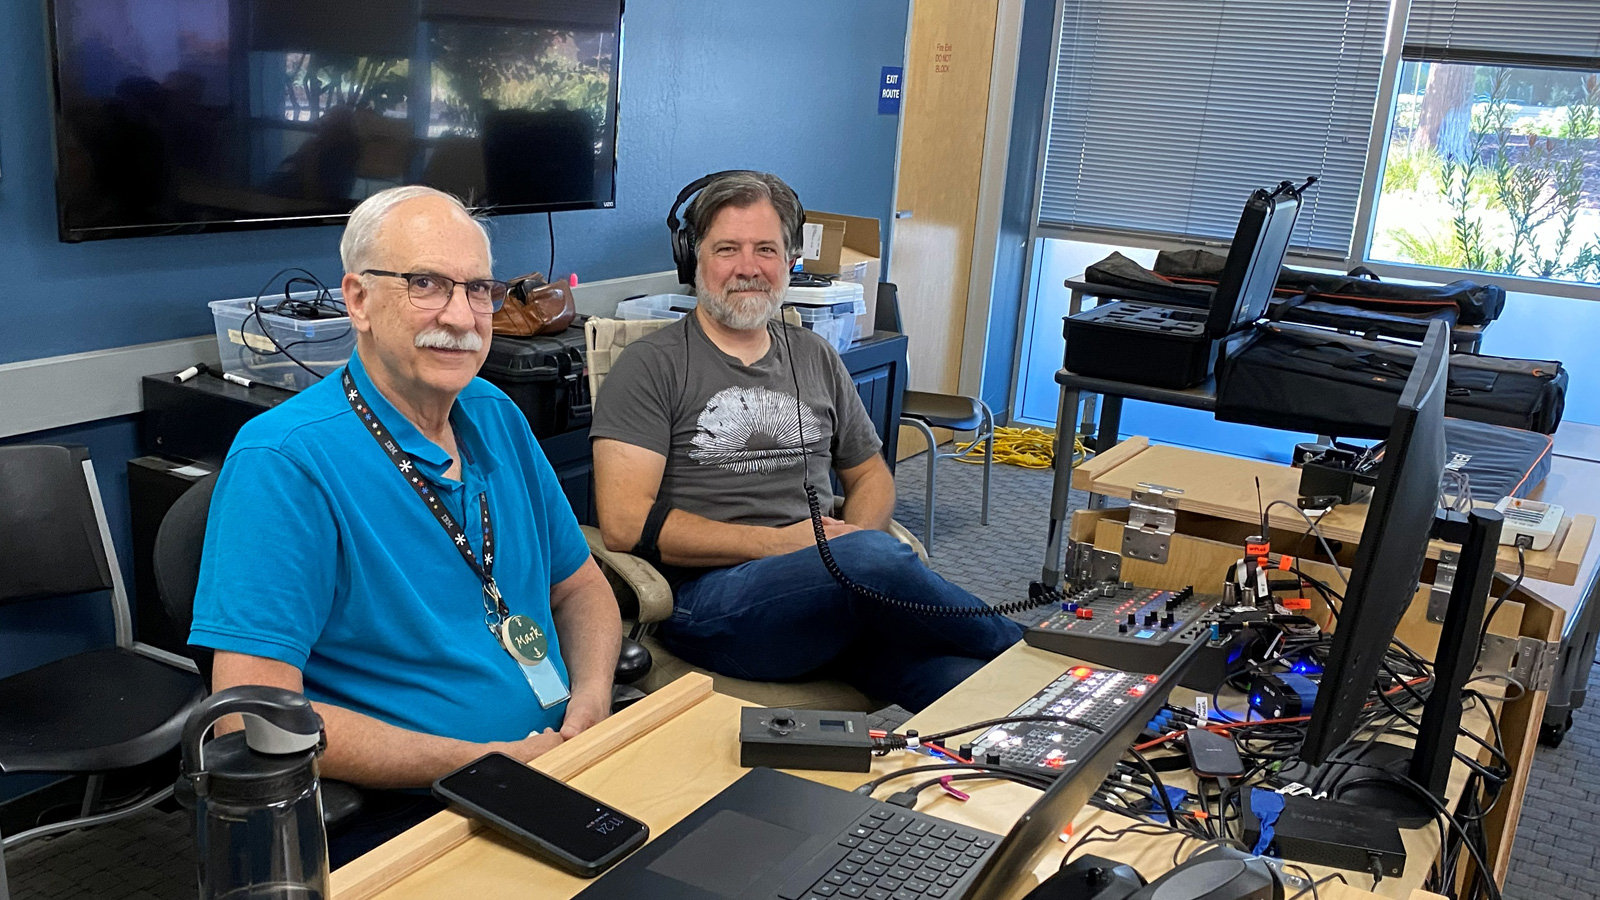
As always, thank you to our audio-visual crew, Mark Koenig and James Craig, for capturing the demo details and sharing them on large screens so everyone could see everything up close. Thanks to Dean Caudle for organizing the demo and arranging lunch for the group. Thanks to Roman Chernikov for taking photos for this article.
Leave a Reply
You must be logged in to post a comment.